Thank you, that makes sense. I did not realize the air all gets forced through like that.

loopy
- 8 Posts
- 12 Comments
Joined 11 个月前
Cake day: 2025年6月4日
You are not logged in. If you use a Fediverse account that is able to follow users, you can follow this user.
What do you mean by “ before it splits?” I’m still learning a lot, but the general consensus of where to place the UV light was on the bottom side of the A-frame, because that’s where the moisture will accumulate and allow for bacteria and fungus growth.
I ended up drilling a hole and mounting the light right into that end plate, and then drilling another hole in my new access panel for the cord, and putting duct putty around the hole.


My friend finally got back to me and said the same thing. I guess I learned something about furnace coils. I ended up making a compromise and just mounting the light into that end plate.


 1·5 天前
Rex Krueger, Paul Sellers, and Wood by Wright are all great free options online. My favorite people to follow and I wish I had learned about them sooner are Joshua and Mike with Mortise and Tenon Magazine.
The M&T guys approach woodworking from a more traditional angle, as opposed to starting modern and working backwards. I really enjoy their mix of philosophy references and practicing traditions for crafting by learning from the past.
They have some free YouTube videos that are pretty great; Maybe you could watch those and get a feel for what their style is. If their approach is something that resonates with you, the books Worked and Joined are essentially beginners manuals for traditional hand tool woodworking, in the photos are very helpful. They also have other books and magazine authors that specialize in things such as wood carving, green wood, working, and furniture making. They discussed even Native American woodworking with very basic tools, as well as the French group Carpenters Without Borders that only use axes.
Please let me know if I can help direct you in any other way. I absolutely love that I found hand to woodworking as a craft. It is a lifelong endeavor and so rewarding. The struggles are challenging, but make everything very worthwhile. I honestly feel more grounded and more human, making things with hand tools.
Would you say the red line leaf is worth trying to save with the rest of the sad roots it has now?
I’ll try making those cuts and post a follow-up on how it works out. I’ll probably keep the blue and purple together like you said, but drop the purple if it struggles.
https://i.postimg.cc/65Xn3Fwj/IMG-3581.jpg
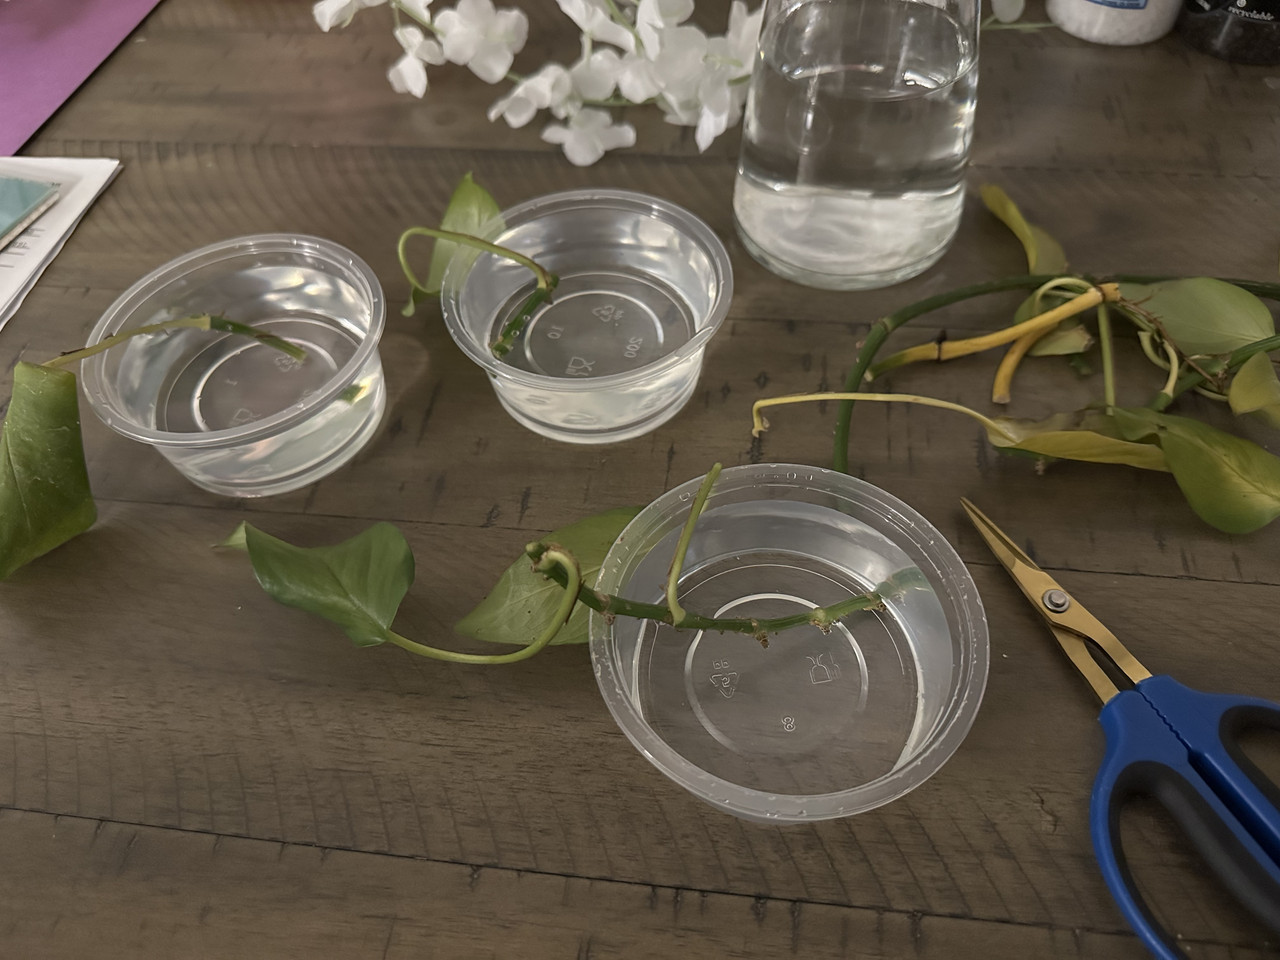
Here are the clippings. One more question I guess, do the tops of the clippings’ stems need to be sticking out of the water or is it okay that they are submerged while in water to grow roots? They are just so short, but I suppose I could use bread ties to hold them in position.

https://i.postimg.cc/jSnG8pgk/IMG-3578.jpg
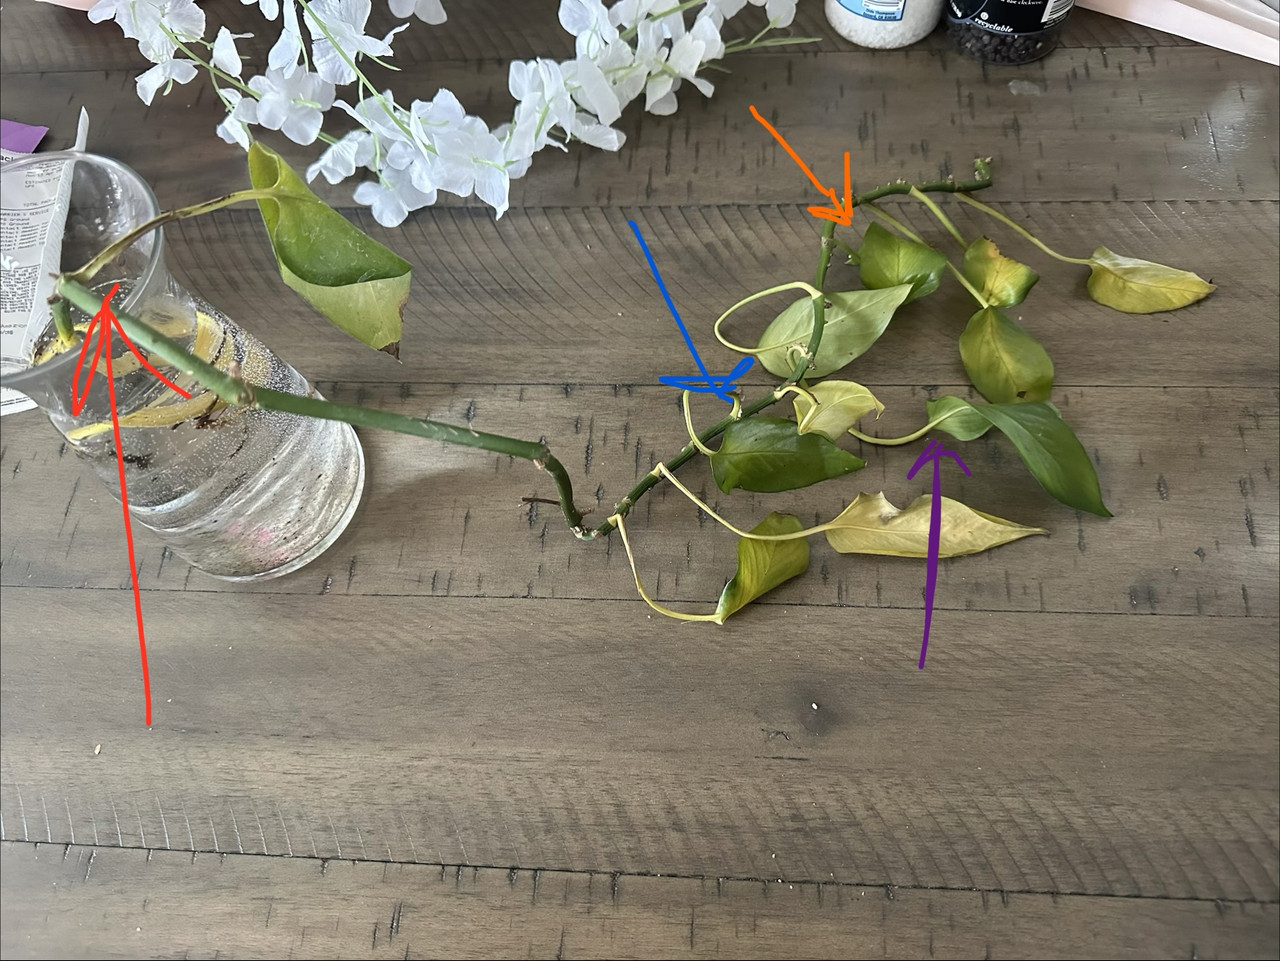
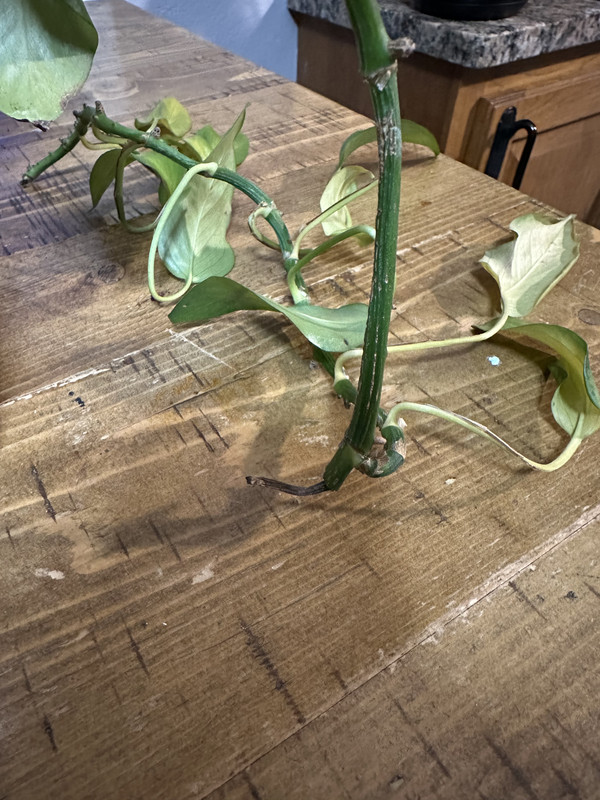
Okay so what would you consider a good leaf? I drew lines where I guessed might be good to cut above. The red on is big and not completely yellow, the blue and purple ones look good but are somewhat close together. The purple one has a root nodule opposite of the leaf/stem connection and one more below it, opposite of the bad leaf I would prune below it, so it would have two nodules, but would it just be better to put the purple and blue together one one cutting? The orange one also has one node opposite and one node below it.
https://i.postimg.cc/kgRkj0YP/IMG-3579.jpg
https://i.postimg.cc/GmTZMWg1/IMG-3580.jpg
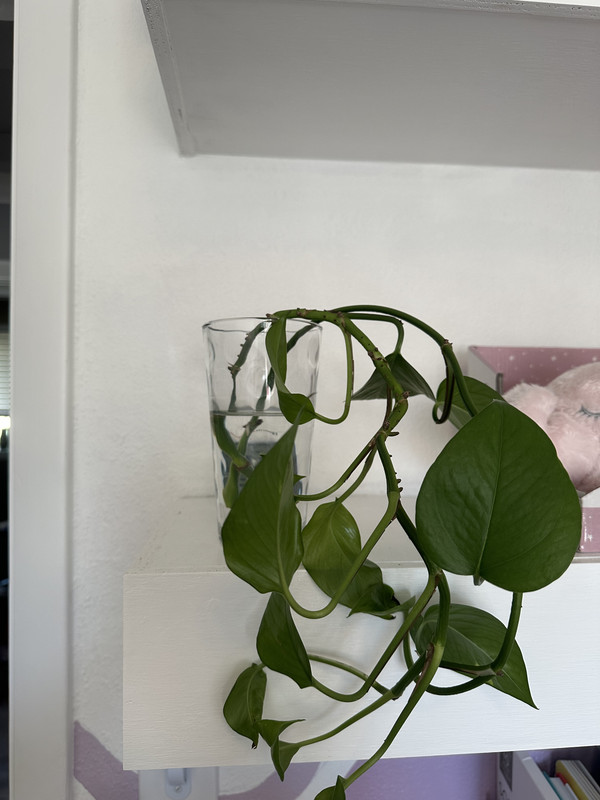
Here is the other one I put in water right away and is doing better. How much do you let the roots grow before putting it in soil? And would you recommend changing the water every 1-2 days? It’s hard to know what advice to listen to.
Thanks for the in-depth reply. I put it in some water and out of the direct sunlight. How can you tell if there is root rot? I’m guessing the moisture control soil must be the kind that retains, because I havent watered it for a few days but it feels slightly damp.
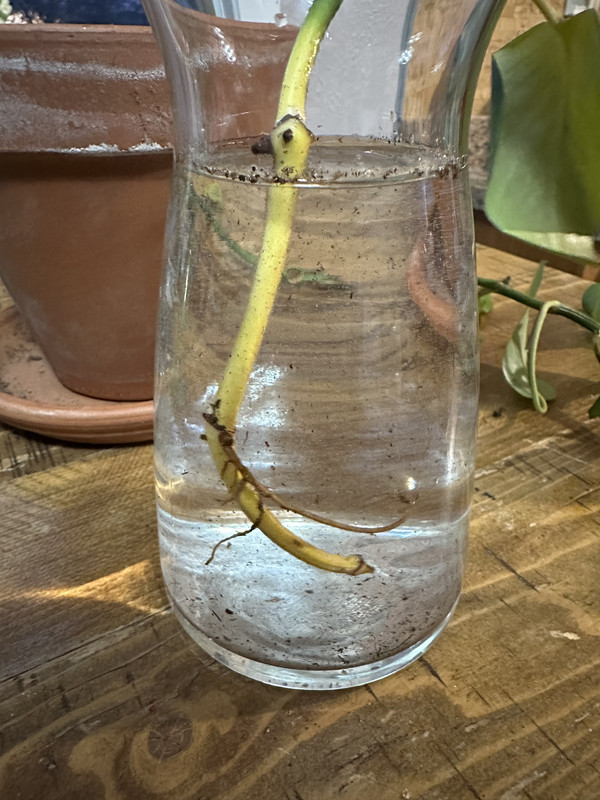
How can I tell if there is enough root to support the plant? And if I trim it back to a leaf node, do I include a leaf?
Here are some pictures of the root and leaf node: https://i.postimg.cc/CLKyzxD2/IMG-3572.jpg
A few days ago. I’m trying not to do too much at once but I don’t want to wait if it needs a change. The person I got it from said to just try the roots in a glass of water for a few days and then transfer to soil with not too much water if it looks better.


Thanks for the thorough response. That makes sense to not reinvent the wheel for syncing and keeping things simple. And yeah, I suppose using the same Task Pony instance would work for sharing.
Thanks again for making something useful and free for the world.

It looks nice. I like the clean interfaces. I am slowly working toward self hosting and found it surprising difficult to find a task organizer as well. One big hurdle is having something that can also sync with my wife’s list, such as a grocery list, so we don’t both buy the food item.
I don’t know much about coding. Does a syncable list require a lot of time and effort? Is that something you would consider adding eventually?
Thanks for the suggestion. It looks like the credit unions around me do have similar or a slight bit better rates. And I do like the idea of keeping my money more locally.

Thanks for pointing that out; I was unaware of that. After educating myself a little, it looks like UV light below about 200nm wavelength generate ozone, but 254nm is the sweet spot for killing microbes. The light I got works at the 254nm wavelength.
The US EPA recommends a concentration of less than 70ppb, Canada 40ppb, and the WHO 30ppb. This model has been tested by the California Air Resources Board at 13ppb.
That’s reassuring, but I’m still looking more into this. Do you have any recommended resources for gaining more insight on ozone generation?
https://www.environics.com/2025/02/17/regulations-ambient-ozone-concentration/
https://www.environics.com/2025/02/17/regulations-ambient-ozone-concentration/
https://bioshielduv.com/products/bioshield-magnetic