
Components:
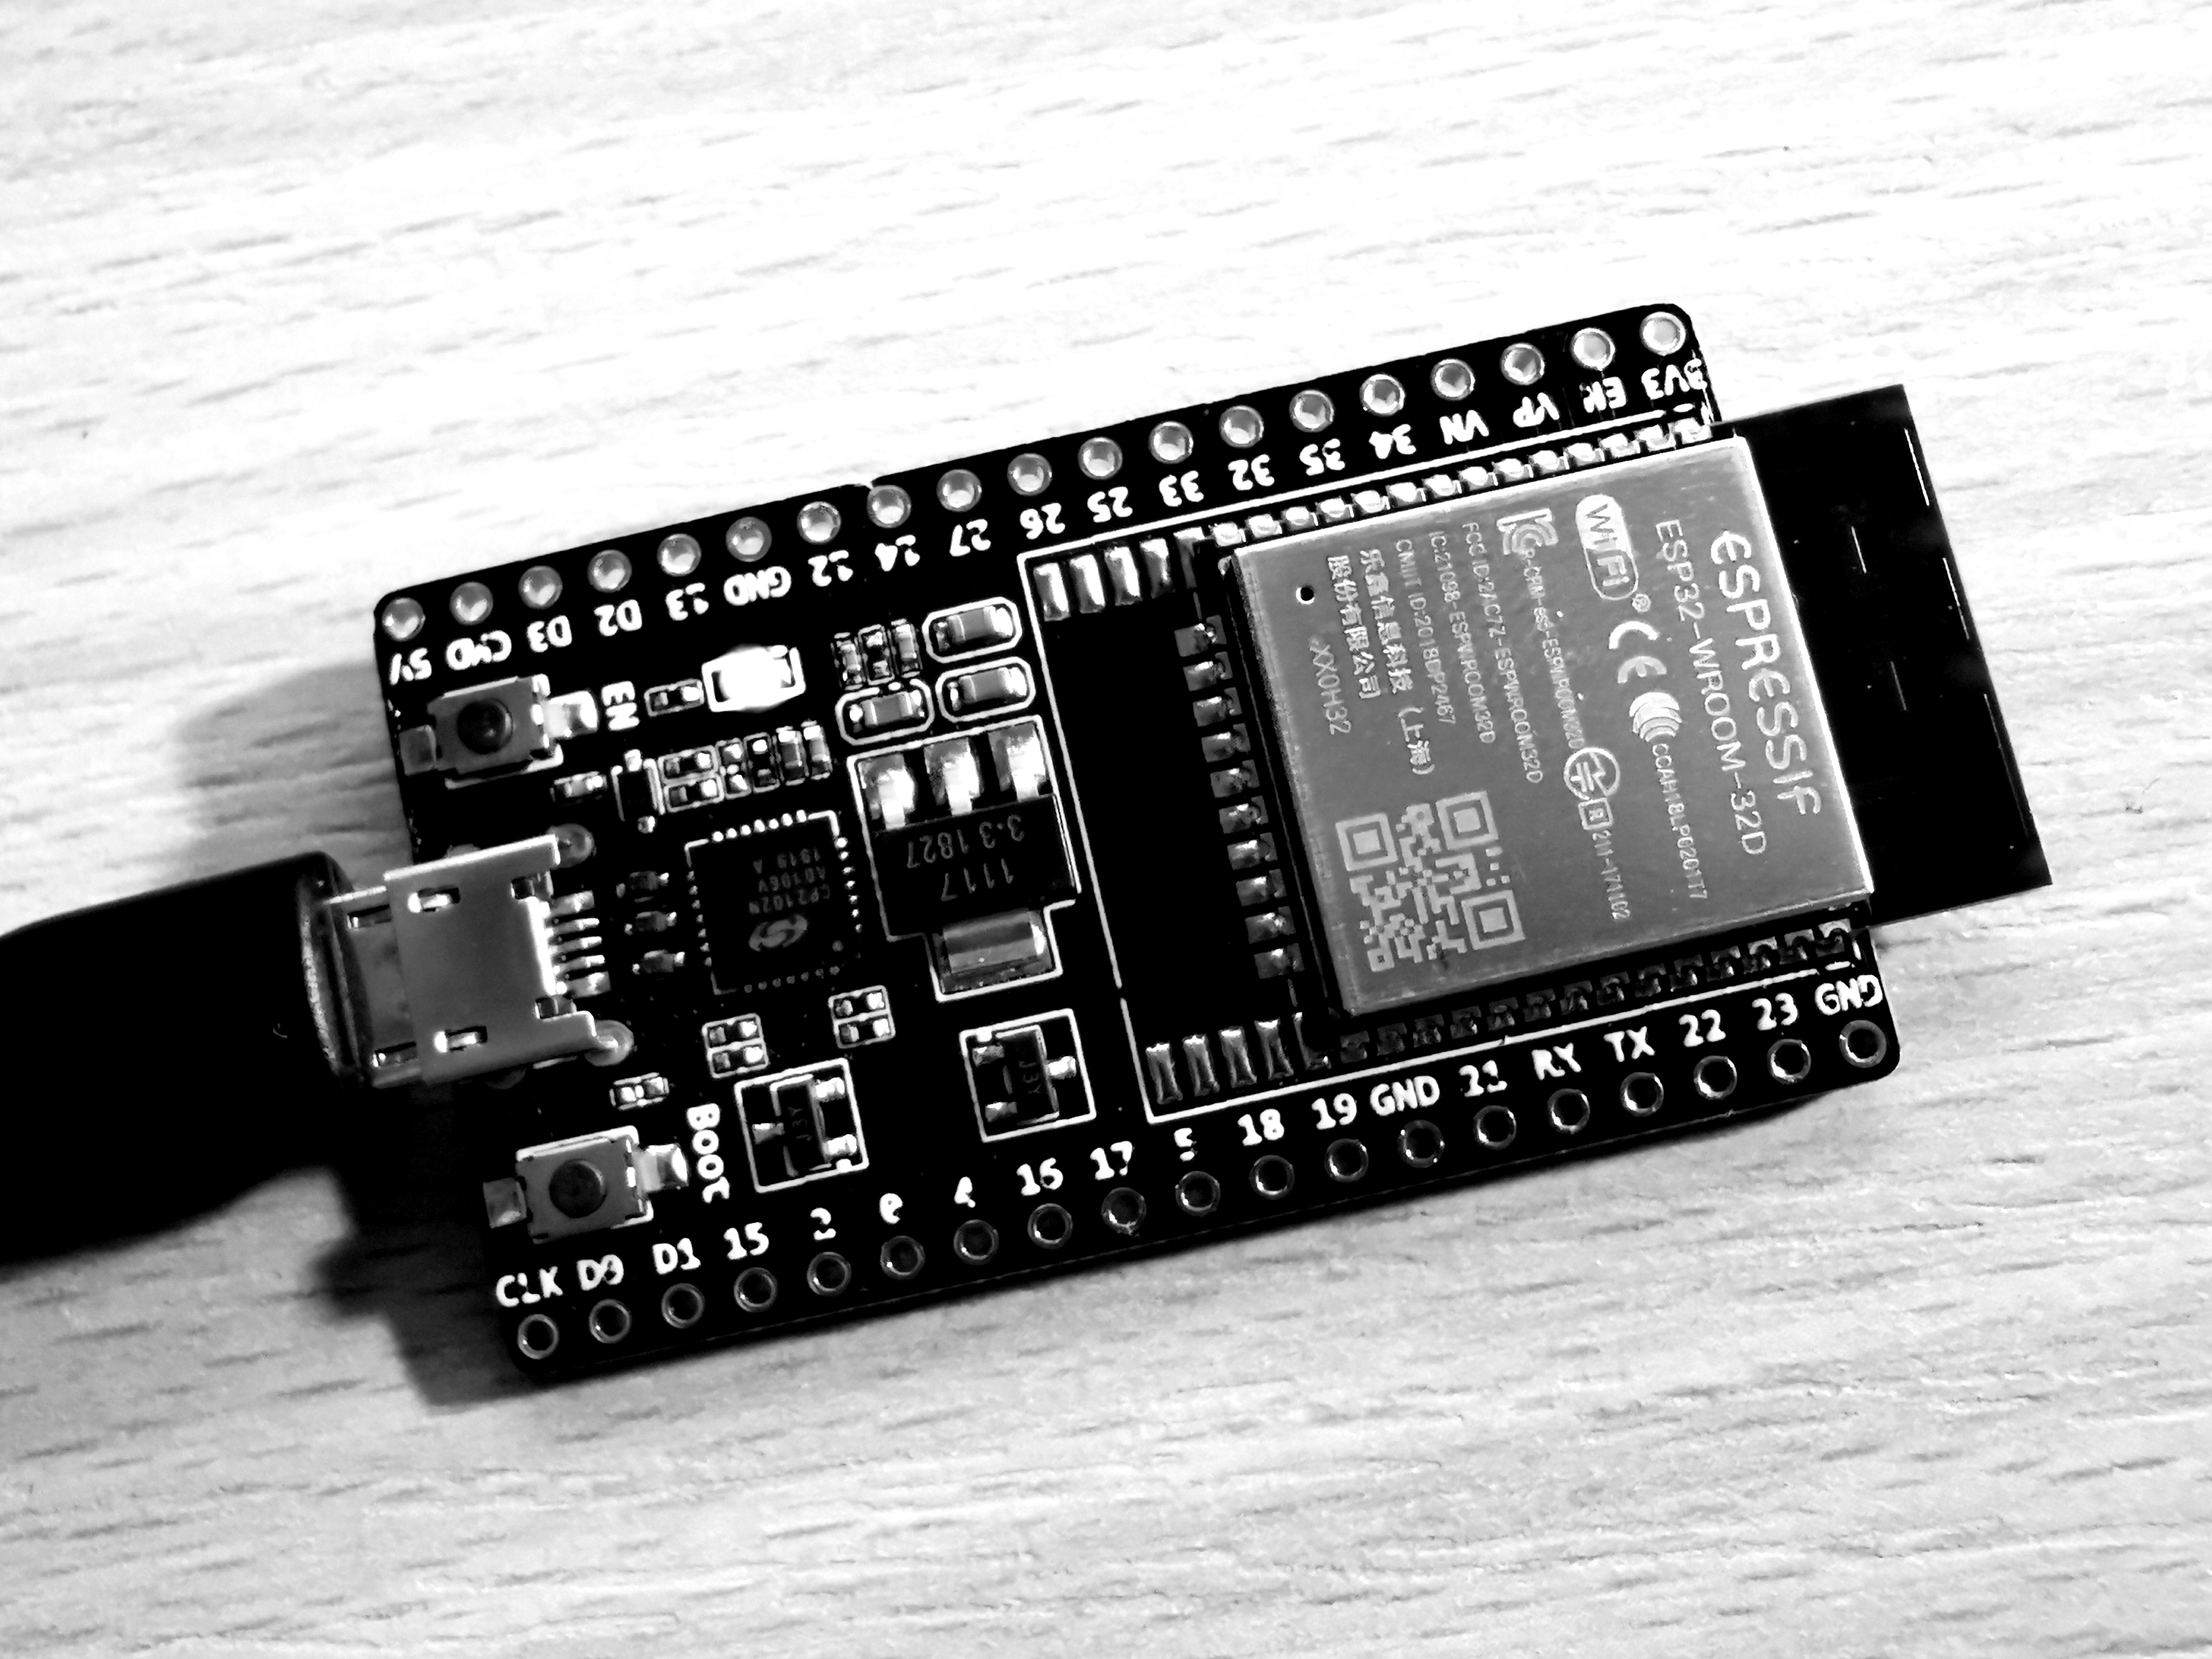
- ESP32-S3-Zero with RGB LED. I’ve selected it over more energy efficient ESP32-C6 because bigger chip looks better, and it’s placed symmetrically.
- two CR1220 3V batteries.
- copper wire from Ethernet cable (single-strand obviously).
- lead-free solder (it’s a ring, don’t wear lead on your fingers).
- hot glue gun, because I could not make a battery holder using just wire.
- a piece of small diameter heat-shrink tube for copper wire.
- a jewellery file (optional, only needed if you actually going to wear the thing).
Instructions:
- flash the firmware first, because batteries will obstruct the USB port.
- it is recommended to file off all sharp edges on the board before you start soldering, it will be harder to smoothen the edges afterwards without scratching the copper wire.
- smoothen your wire, wrap it around some finger-size object like a tube of flux, cut the wire spiral into rings.
- solder wire rings into one side of the board, use every hole except for 5V and GND, and TX/RX on the other side.
- put the board onto your finger, measure and cut the other side of the wire rings to match your finger size, solder wire rings to the board.
- Glue two batteries together in sequence, then glue them to the top of the USB connector. Watch out for polarity - CR1220 has positive charge on the body and negative charge on the contact plate, you need to put the negative electrode onto the USB connector.
- wrap a stripped copper wire around another wire with isolation on it.
- bend both wires so that the stripped wire will go into 5V hole, and the isolated wire will go into GND and RX holes. The isolated wire is only needed as a mechanical support, because you should not solder another end of 5V wire to the TX or RX hole, or you risk frying the chip.
- add a piece of heat-shrink tube to the stripped wire. You need to make contact with the battery at the top and prevent the wire from contacting the battery at the bottom. You can try to leave a bit of isolation on the wire, but it’s easier to use the tube.
- solder wires to the board.
- do not to make a common mistake of connecting 3V3 and GND together, or GND and 5V, like I did. 3V3 wire goes under the board onto the finger, GND wire goes above the board to hold the batteries.
- keep wire ends from sticking out of the mounting holes when soldering, they are going to scratch you when you wear the ring. You can file them off afterwards, but it’s easier to not make them stick out in the first place.
Firmware: https://github.com/pelya/esp32-led-cycle-colors
The only thing it does is cycle LED with random colors. It shuts off power by pressing BOOT button or after 5 minutes. To turn it back on, press RESET button. There’s no WiFi, Bluetooth, or LCD screen, but at least the LED is bright.
I did not measure how long will these two batteries last. When they are empty, I’ll need to rip off hot glue blobs from the board, which would be pretty easy since I only put hot glue onto metallic surfaces.
And it’s absolutely not waterproof, hopefully the finger grease will keep to the underside of the board and won’t short the battery.
Full video: https://youtube.com/shorts/QZi4RBir2cE
You must log in or # to comment.
DeBeers in shambles
deleted by creator
